
Mirror of the ArozOS Github repo
 Toby Chui
dcdc860078
updated docs reader
Toby Chui
dcdc860078
updated docs reader
|
6 rokov pred | |
|---|---|---|
| dist | 6 rokov pred | |
| docs | 6 rokov pred | |
| img | 6 rokov pred | |
| src | 6 rokov pred | |
| README.md | 6 rokov pred |
README.md
ArOZ Online System / aCloud
Personal Cloud Platform with Web Desktop Environment for Raspberry Pi 3B+ or 4B. A place to start cloud music and video streaming, data storage, office work / text processing, 3D printing file previews, Cloud programming IDE and more!
Getting Started
These instructions will show you how to deploy a copy of ArOZ Online System on your own Raspberry Pi or other low power, Linux running SBCs for community review and testing purposes. See "Full Version Deployment" for the instruction to deploy other builds of the system.
Prerequisites
The following packages are required for the community edition to run on your Linux system.
- apache2
- libapache2-mod-xsendfile
- php libapache2-mod-php php-cli php-common php-mbstring php-gd php xml php-zip
- php-mysql (Optional)
- libav-tools / ffmpeg (Optional)
- samba (Optional)
To install the package above, copy and paste the following lines into your ssh terminal line by line.
sudo apt-get install -y apache2
sudo apt-get install -y php libapache2-mod-php php-cli php-common php-mbstring php-gd php xml php-zip
sudo apt-get install libapache2-mod-xsendfile
#The lines below are optional. But it is recommended to install them for future uses
sudo apt-get install php-mysql
#Use libav-tools instead of ffmpeg if you are still using Debian Jessie
sudo apt-get install ffmpeg
sudo apt-get install samba
Prebuilt Image File
To install ArOZ Online System to your Raspberry pi, you can use the prebuilt image file for Raspberry Pi 4B / 3B+. You can find the image in the link below:
https://hkwtc.org/aroz_online/dist/
Manual Installation
Before installing the ArOZ Online System, you need to firstly setup the package settings.
Edit php.ini to increase the max file upload size setting. The php.ini file can usually be found in /etc/php/{php-version}/apache2/php.ini. Change the two lines below as follows:
upload_max_filesize = 2048M
post_max_size = 2048M
Edit /etc/sudoers, add the following line at the bottom of the file.
www-data ALL=(ALL:ALL) NOPASSWD:ALLEdit /etc/apache2/apache2.conf, add the following two lines to the bottom of the file
XSendFile on
XSendFilePath /media
Create directory at /media/storage1 and /media/storage2
sudo mkdir /media/storage1 /media/storage2Next, you need to download and install the ArOZ Online System to your webroot (/var/www/html/). To do so, you can firsly move into the web root with the following command:
cd /var/www/html/And then download the package to the current location, unzip it and setup the permission for ArOZ Online System to work. (Replace the {dist-pack} with the link of the current dist-pack zip filepath that you are downloading)
sudo wget {dist-pack}.zip
sudo chmod 777 {dist-pack}.zip
sudo unzip -o {dist-pack}.zip
rm install.zip
sudo mkdir -p "/etc/AOB"
sudo chmod 777 -R "/etc/AOB"
sudo chmod 777 -R ./AOB
sudo chown -R www-data ./
Open your default browser and visit the http://{Raspberry_Pi_IP_Address}/AOB/ and follow the on scren guide for setting up a new user.
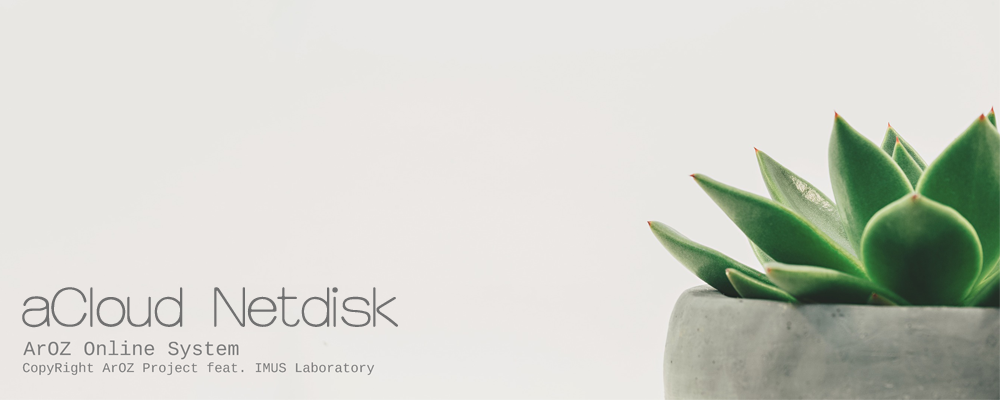
Preview / Screenshots
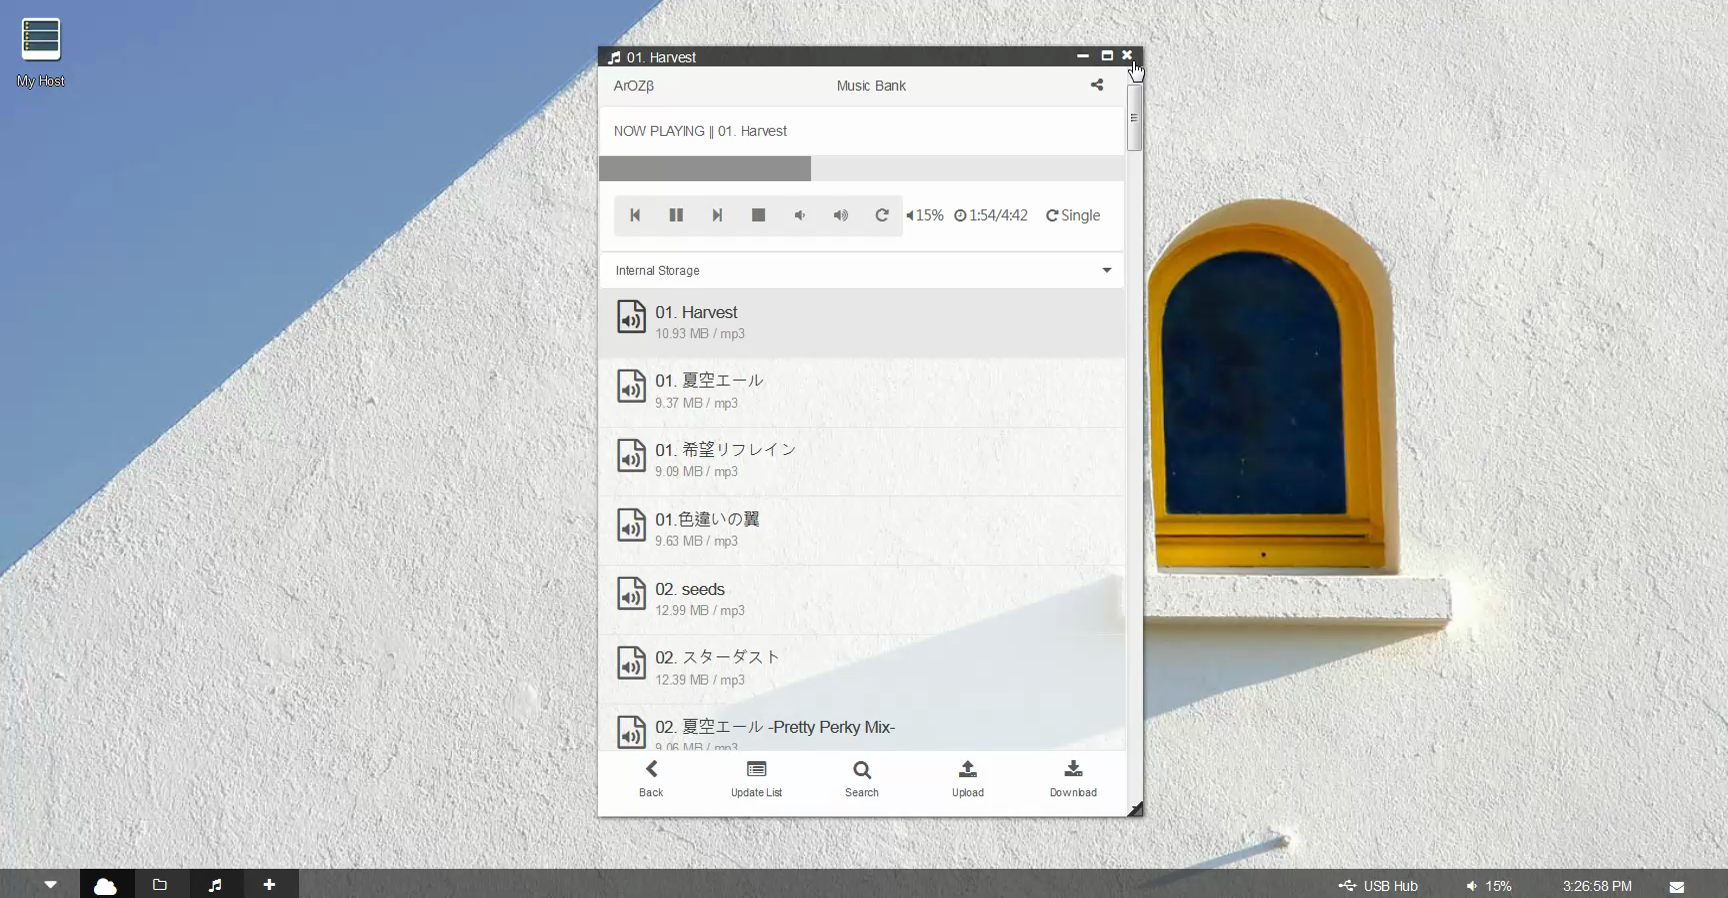
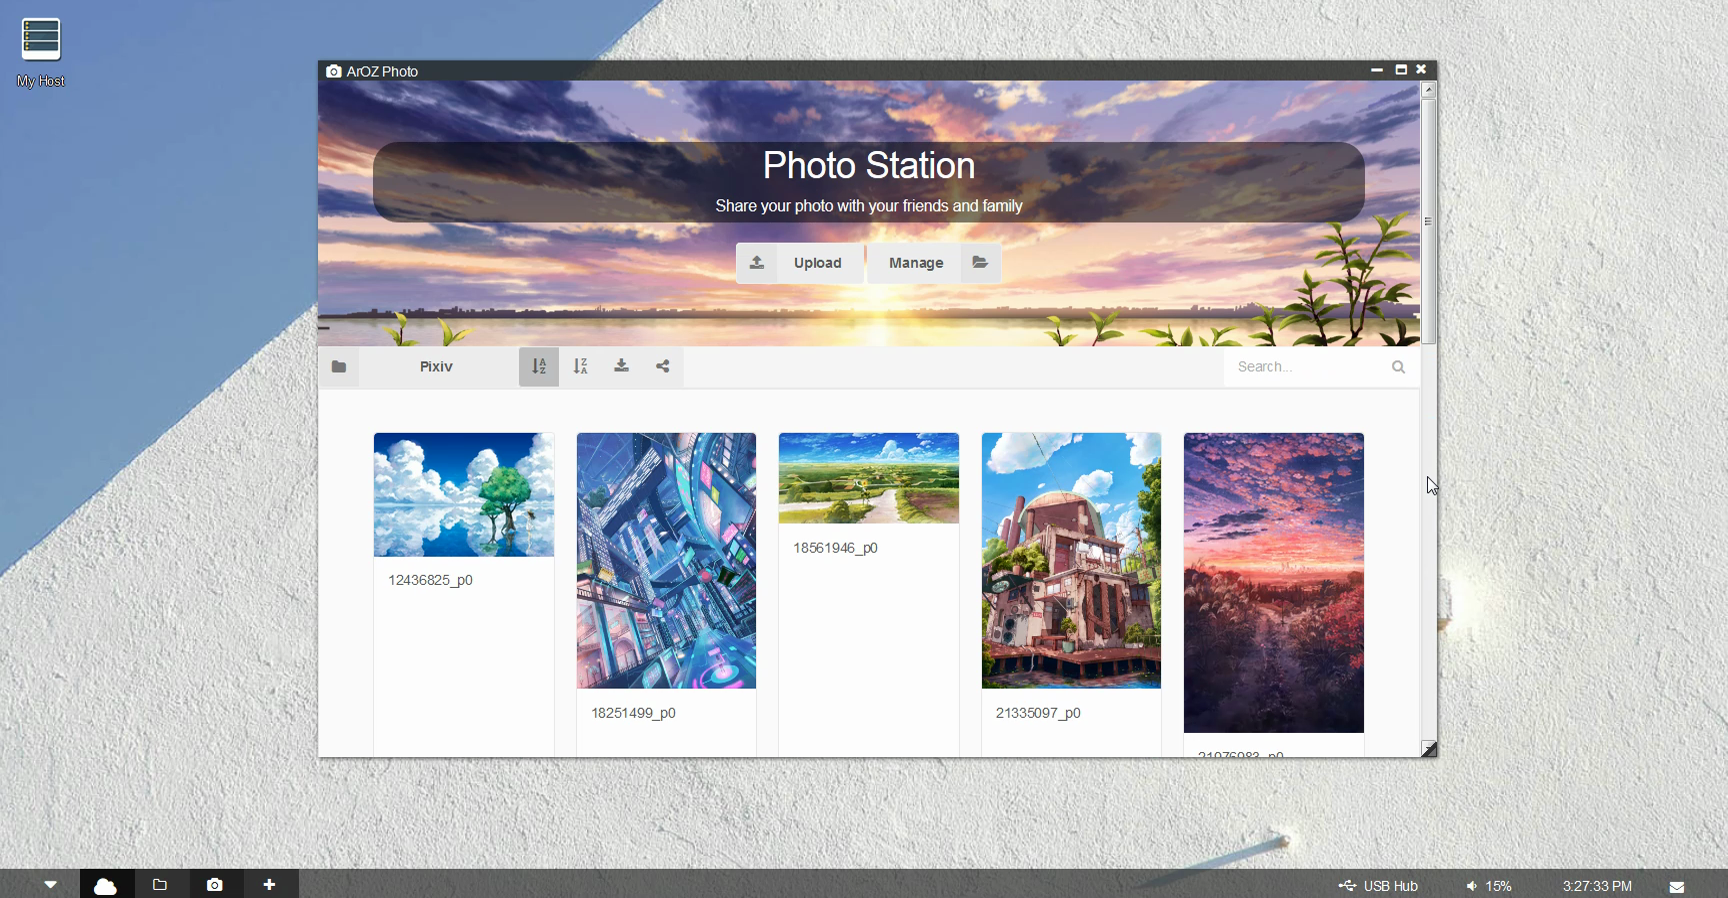
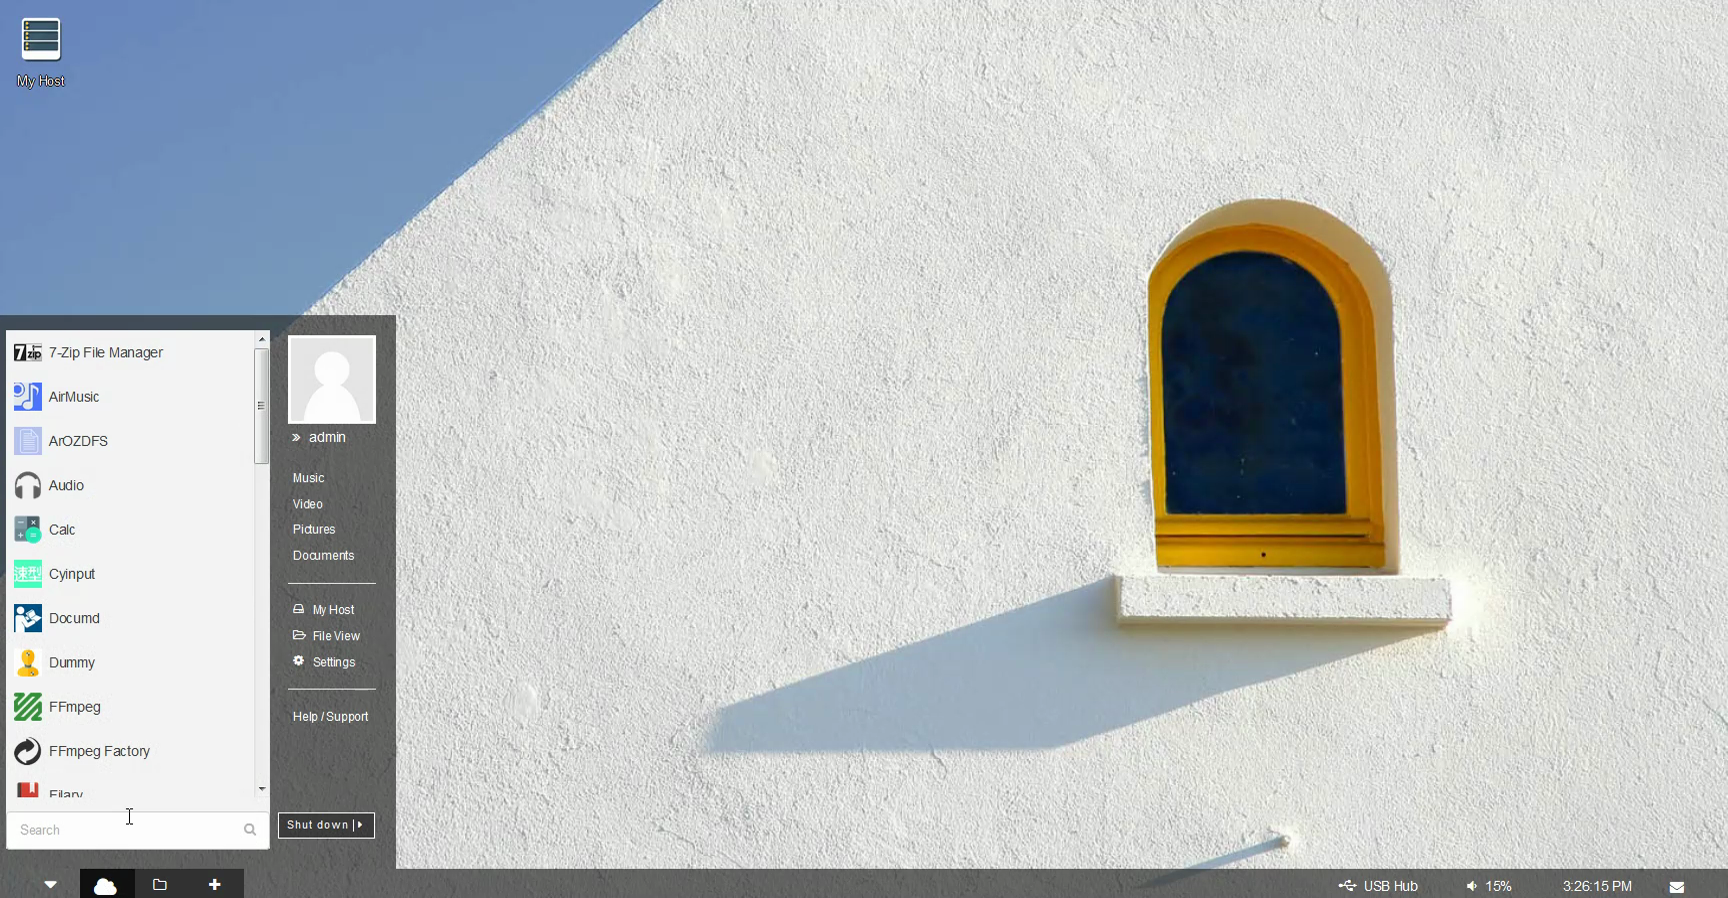
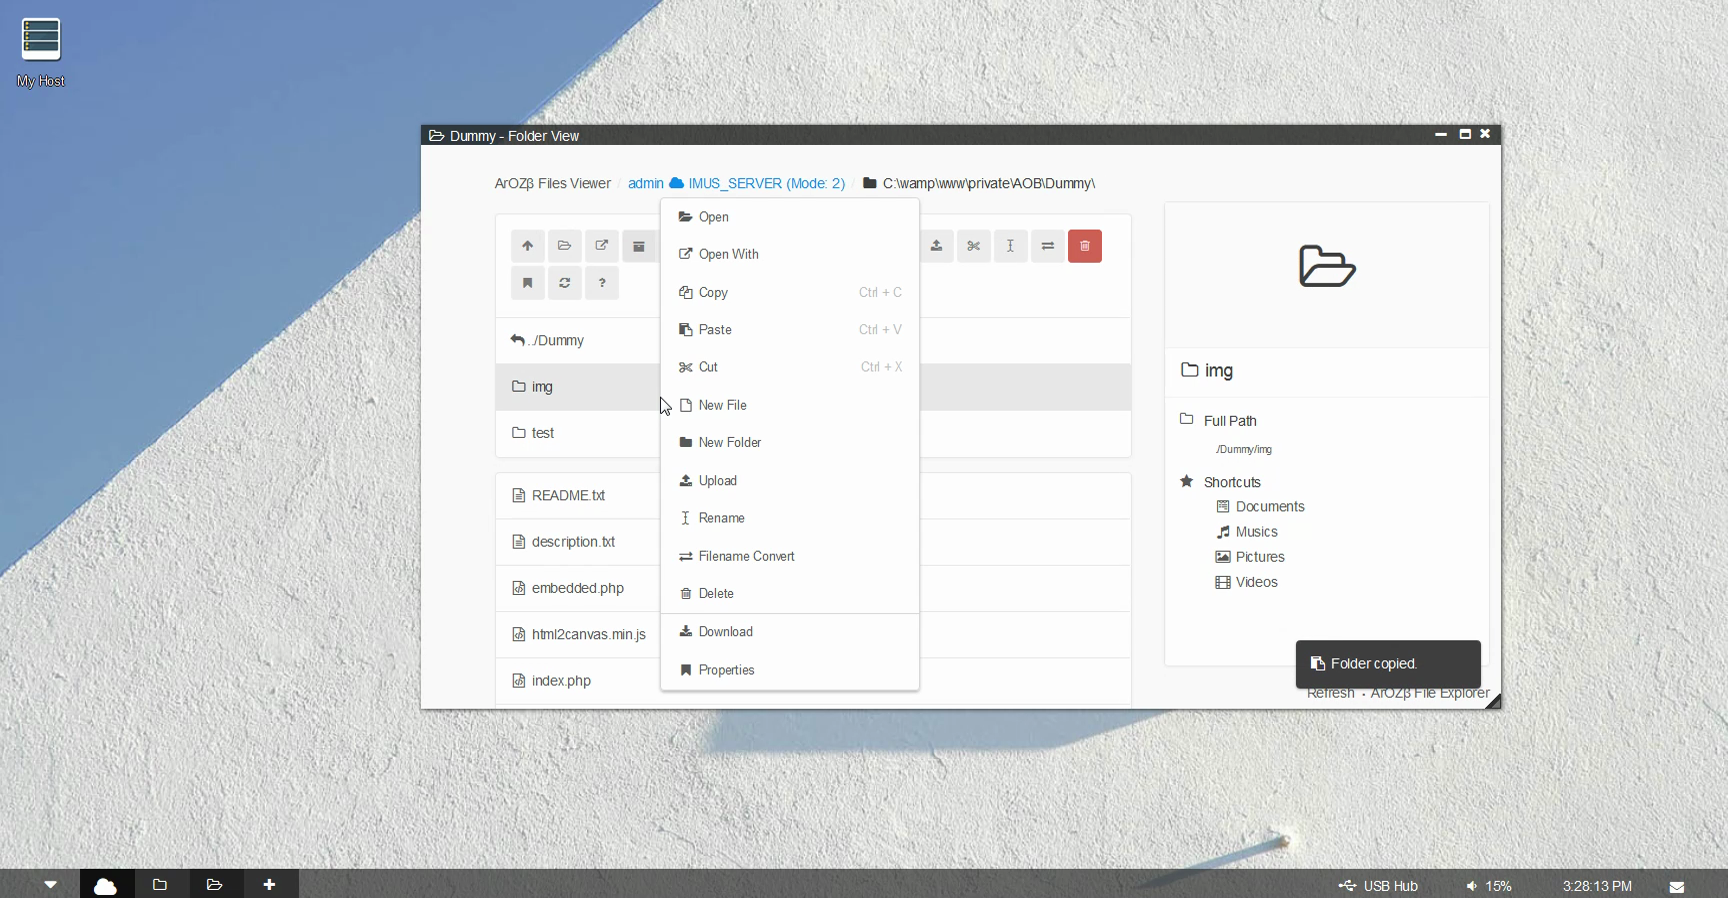
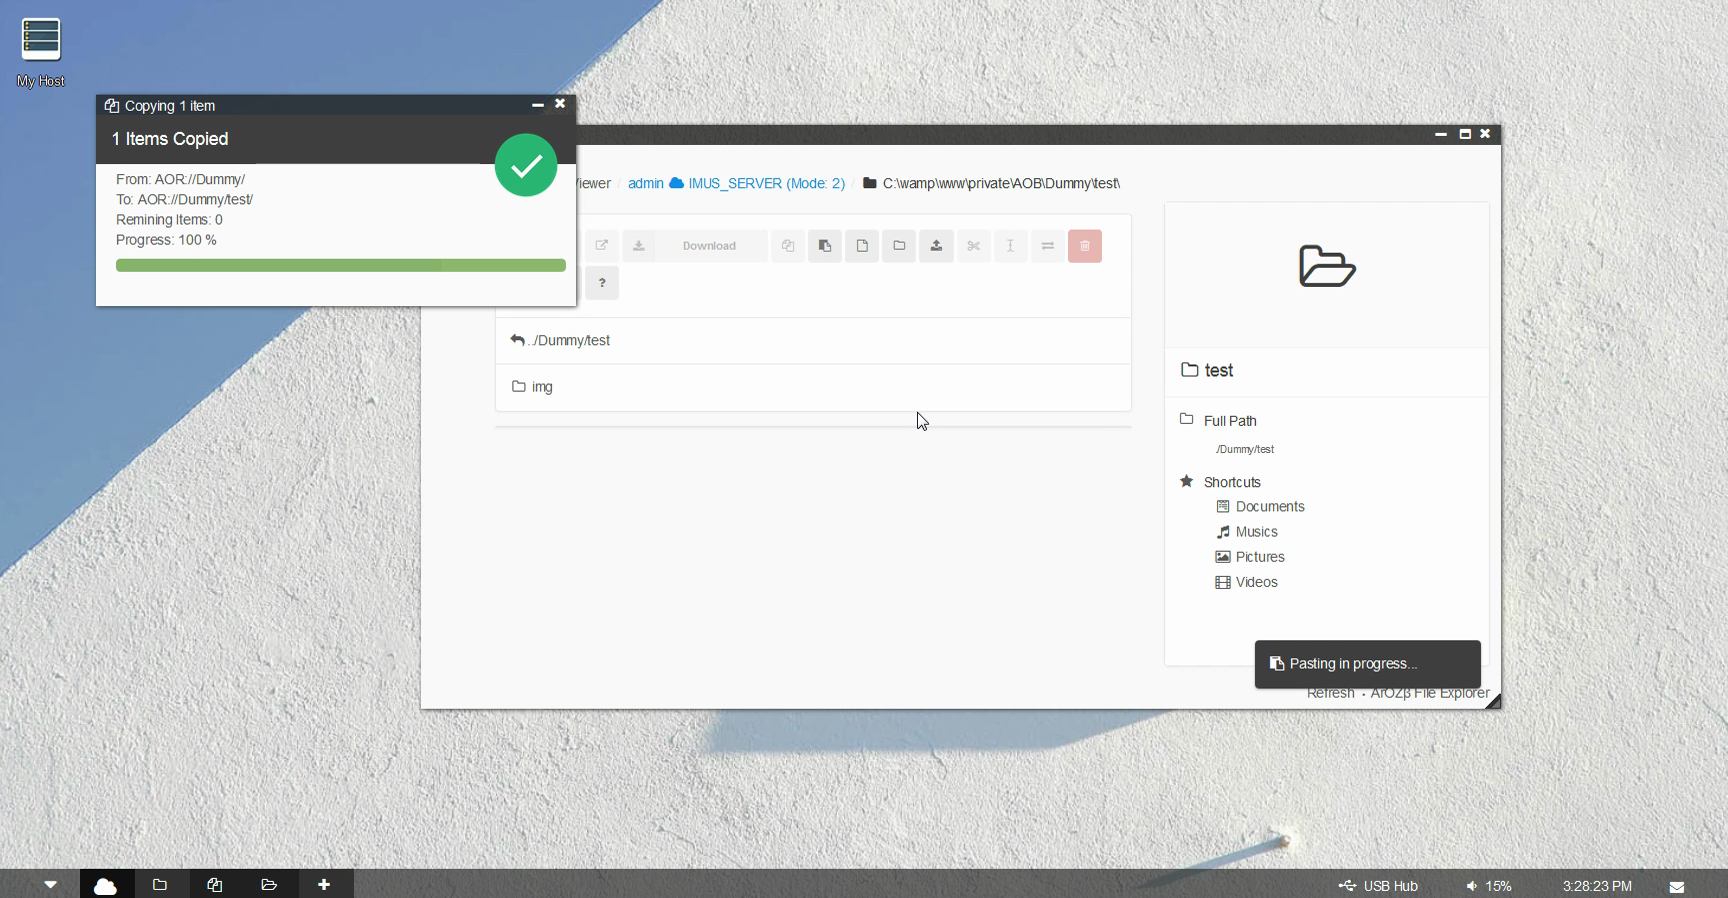
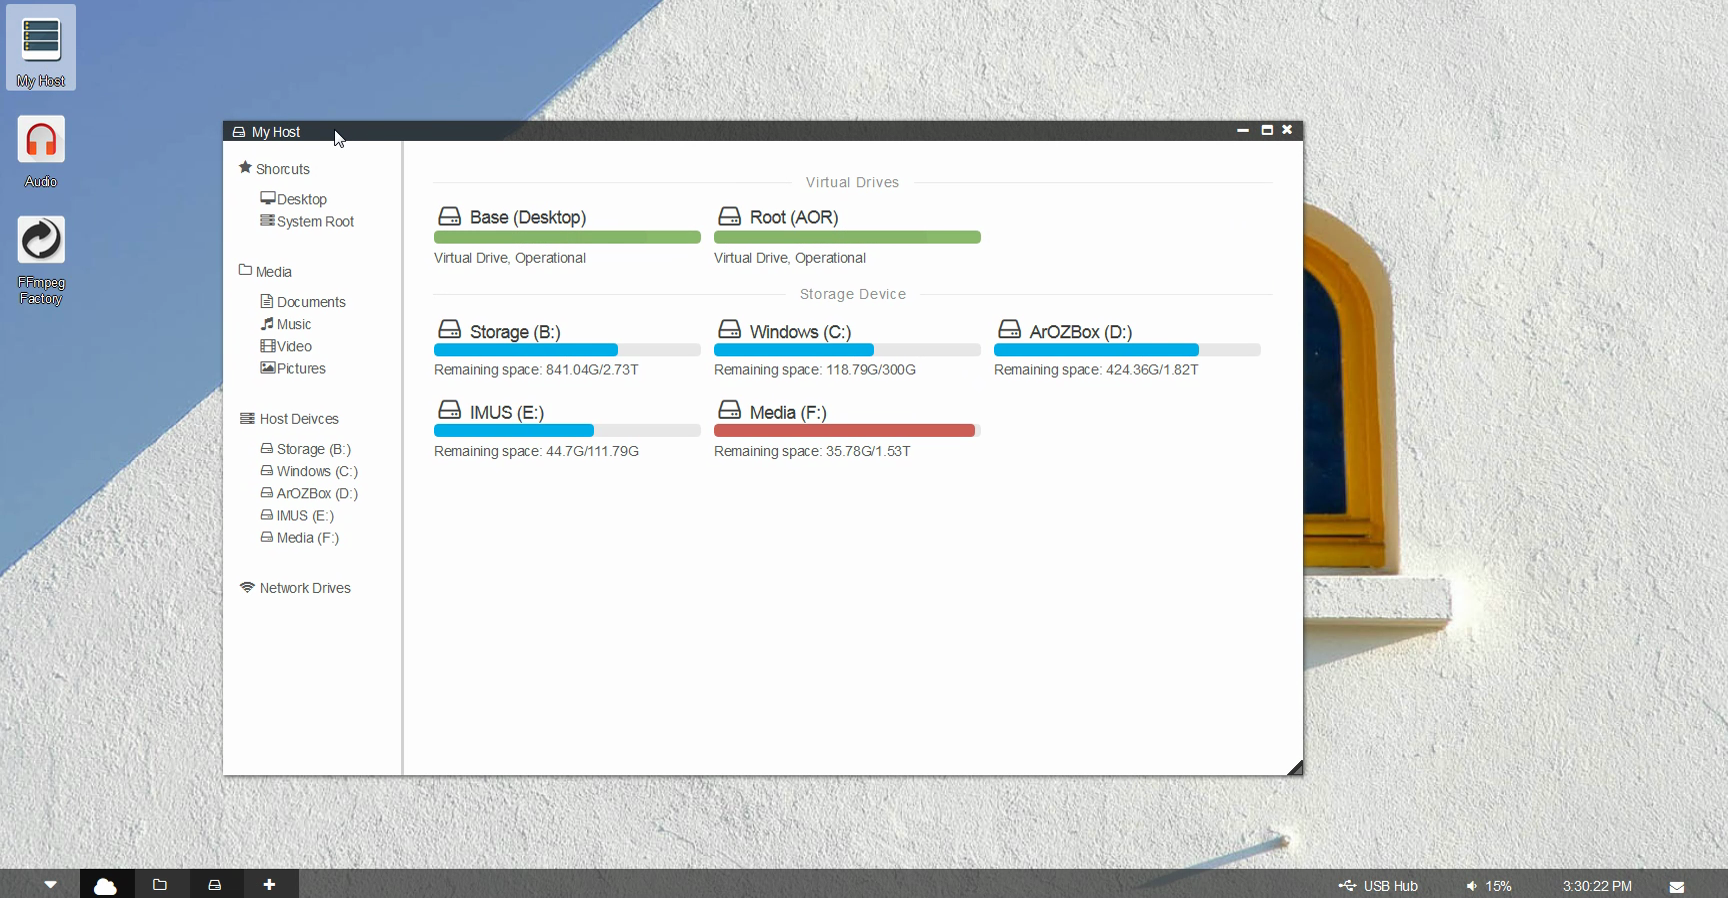
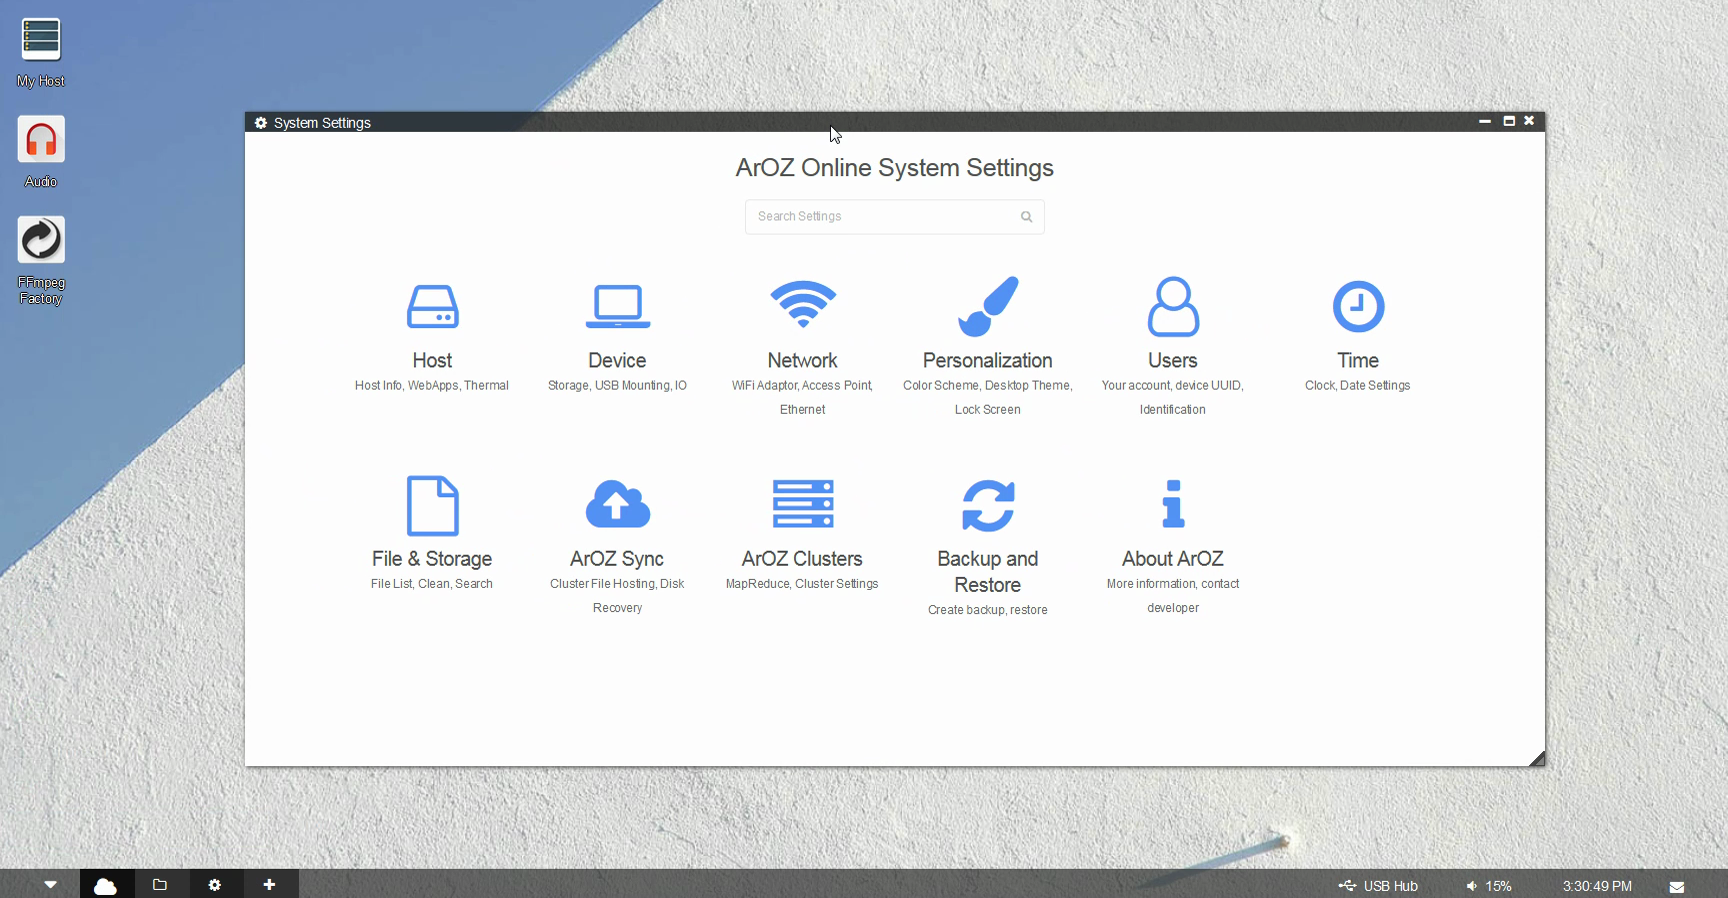 Click here for more preview screenshots
Versioning
Different major change in versioning will lead to an upgrade to the codename. Here are a list of versions currently ArOZ Online System provides.
| Version Number | Code Name | Major Change | Type (Barebone / Community / Full* ) |
|---|---|---|---|
| Before Beta 1.1.4 | Aloplex | N/A | Full |
| Before Beta 1.2.8 | Sempervivum Tectorum | N/A | Full |
| 1.0 | aCloud | Init Release | Community |
*Full versions are only disclose to internal developers or testers for review purpose only.
Author
Developer
(Blame them if you encounter any bugs within the system)
- tobychui - Project initiator / System Developer / Core Modules designer and programmer
- yeungalan - Module maintainer / Network Setting Module developer
Beta Tester
(Find them if you want to know how to use a specific function in the system)
License
Core Modules (Audio / Photo / Video) - MIT License
Desktop Module (Desktop) - GPLv3 License
All core scripts and binary files under root (./) and System Script Folder (SystemAOB/*) - tobychui feat. ArOZ Online Project, All Right Reserved.
All other files or modules that is not covered by the license above - See the module's license for more information.
THIS SYSTEM IS ONLY FOR PERSONAL AND NON COMMERCIAL USE ONLY. RE-SELL ,DISTRIBUTE OR CLAIM THIS AS YOUR OWN WORK IS PROHIBITED
Acknowledgments
Special thanks for the following projects which bring insights to this project.
TocasUI by Yami Odymel - https://tocas-ui.com/